Automated Follow-up (email, SMS, task)
Listing follow-up sequences
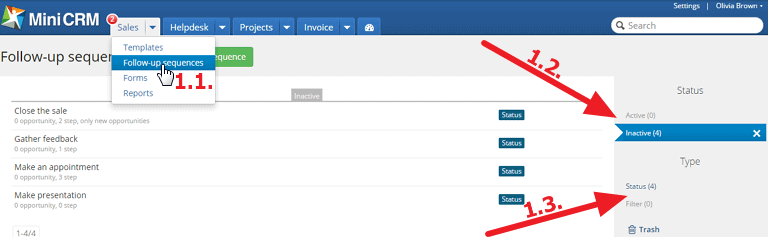
To list the active and inactive follow-up sequences of a module, click on Follow-up sequences [1.1.].
You can filter them by Status (Active or Inactive) [1.2.] and Type (Status or Filter) [1.3.] by clicking on an item.
If you have started scheduled sendings and you haven’t filtered by type, they are also displayed on the list of follow-up sequences.
For more information, see: Email sending (mass email)
Follow-up sequences can run based on a:
- Status
- Filter
Creating follow-up sequences
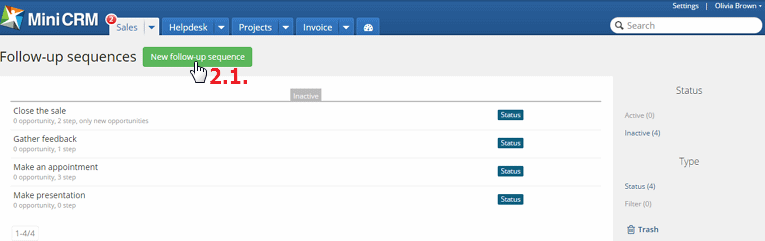
To create a new follow-up sequence, click on the [New follow-up sequence] button [2.1.]. Fill out the fields and click on [Add] [2.2.].
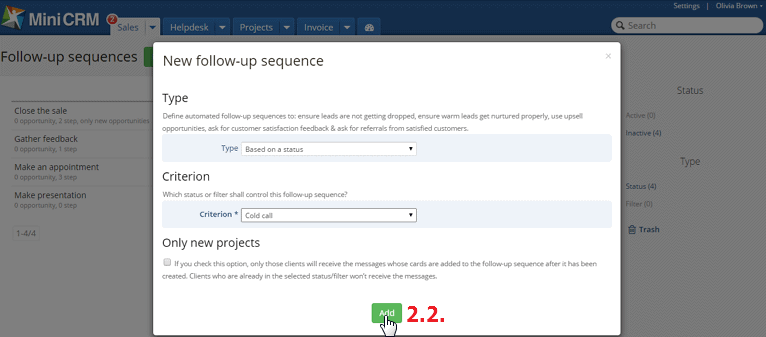
Type
You can choose from 2 types:
- Status: Templates will be sent to and tasks will be assigned to cards filtered by a selected status.
- Filter: Messages will be sent to your clients and colleagues, and tasks will be assigned to users based on cards filtered by set filter conditions.
Criterion
You can select a particular status or filter. Cards belonging to the selected status/filter will get into the follow-up sequence.
Only new projects
If you check the Only new projects option, only those clients will receive the messages whose cards are added to the follow-up sequence after it has been created.
Settings
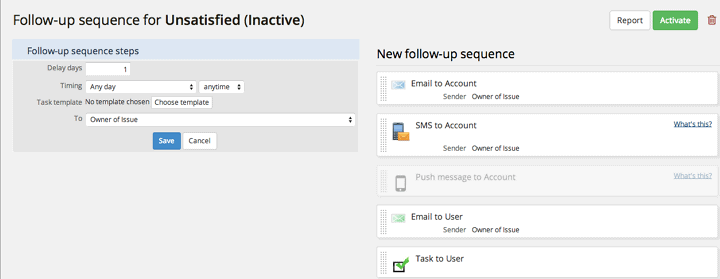
The following items can be added to the follow-up sequence:
Email to Account
By adding this item, you can send email messages to clients’ default email addresses. You can add two email templates (“A” and “B” version).
MiniCRM produces separate statistics on these templates in Email reports.
A/B templates can be used for more than one step. One recipient always receives the same version so you can try out different subjects and communication, and you can improve the version that has higher open and click-through rates.
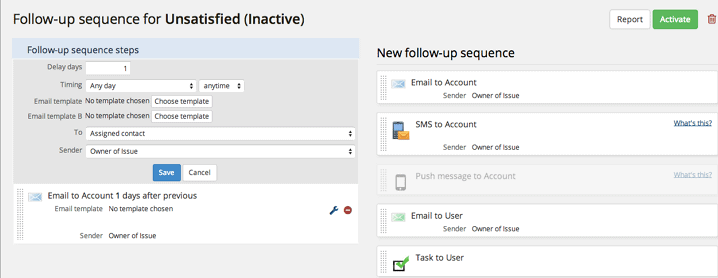
SMS to Account
By adding this item, you can send SMS messages automatically to clients’ default mobile numbers.
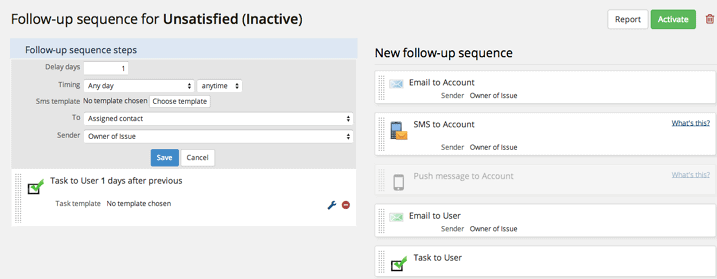
Email to User
By adding this item, you can send tasks to your colleagues and remind them about events and tasks in an email message. Clients won’t receive this message.

Task to User
By adding this item, you can assign tasks automatically to users. They will be displayed among tasks on the relevant card(s). Only users receive these tasks.
Edit steps
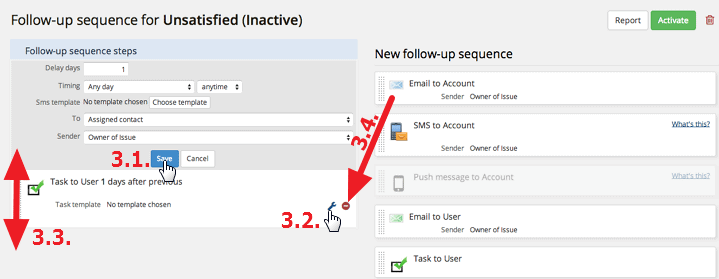
To add an item, grab it and move it to the left side.
To save the settings, click on [Save] [3.1.].
To modify a step, click on the Wrench icon [3.2.].
To change the steps’ position within the follow-up sequence, grab the box and move it upwards or downwards [3.3.].
To delete a step, click on the red icon next to it [3.4.].
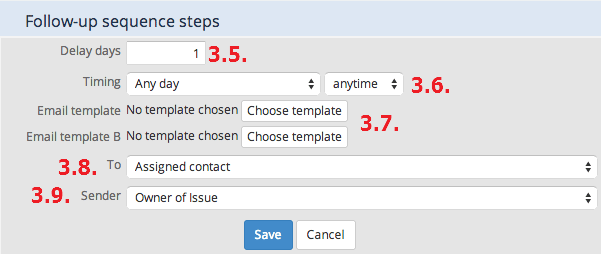
Delay days [3.5.]
Here you can set how many days should pass between the sendout of the messages. If you set the first message and enter a number into this field (e.g. 2), the message will be sent two days after it was added to the follow-up sequence.
Timing [3.6.]
The message will be sent out on the date (day and hour) set here.
If you select a day from the dropdown list, the message is sent on the selected day, even if the conditions are fulfilled before.
If you select the Any day option, the message will be sent immediately when all conditions are fulfilled.
If you select the Workday option, the system only sends the message on weekdays after all conditions are fulfilled. If conditions are fulfilled at the weekend, the message will only be sent on Monday.
The same logic applies to the Weekend option.
You can choose an hour from the 24 hours of a day. If you select the anytime option, the message will be sent immediately when all conditions are fulfilled.
Email/SMS/Task template [3.7.]
To choose an Email, SMS or Task template, click on Choose template.
You can select two email templates (“A” and “B” version).
For more information, see: Settings > Email to Account
Recipient [3.8.]
You can choose the recipient from the dropdown list.
Sender [3.9.]
In the case of Email and SMS messages you can choose a Sender.
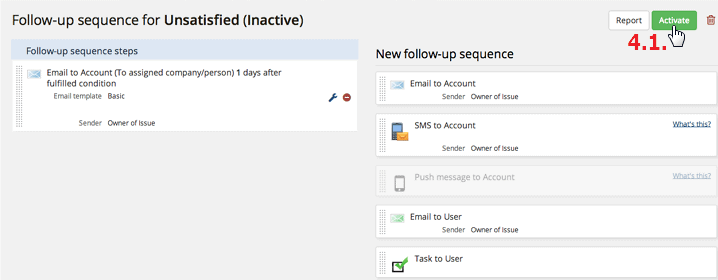
Activating and inactivating
After editing and performing the settings, click on the [Activate] button [4.1.].
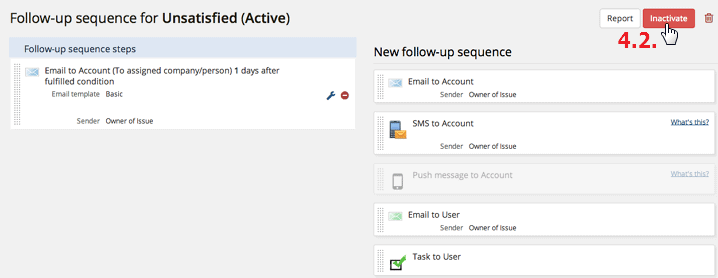
To inactivate a follow-up sequence, click on the [Inactivate] button [4.2.].
Follow-up sequence control
- The follow-up sequence control only manages active follow-up sequences.
- Follow-up sequence control runs in every 15 minutes so it may happen that after creating a new follow-up sequence, you have to wait 15 minutes to see the cards on the list.
- The duration of the sendout depends on the amount of messages.
- Only one step is performed during a running of the follow-up sequence. So it is recommended to set the most important step as the first one.
- If you have scheduled a step for a specific day (e.g. for Monday), the message will be sent on that day. If it fails, the step will be only performed one week later, on Monday.
Email statistics
To see statistics about sendouts, click on the [Report] button [5.1.].
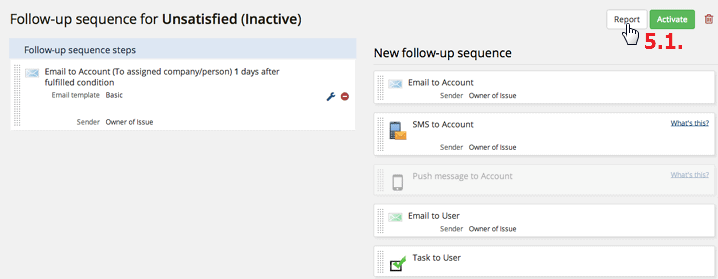
Statistics show how many email messages were sent out by a follow-up sequence in a given period and their open, click-through and unsubscribe rates.
For more information, see: Email Statistics
Spam
Regarding Spam, MiniCRM applies the zero tolerance policy.
For more information, see: Spam: Zero Tolerance