Integration with Calendars
Integrating MiniCRM with various calendars
If you would like to receive notifications of your tasks on your smartphone or PC, integrate your MiniCRM system with your calendar (client program). To do this, you’ll need the following:
-
User name: Email address used for logging into MiniCRM
-
Password: Password used for logging into MiniCRM
-
Server: cal.minicrm.hu
The server uses the CalDAV standard that means that the calendar has to be able to manage the CalDAV protocol (such as OS X Calendar or iOS Calendar), or — if it is necessary — you need to install an app (client) that is added to the calendar and makes the management of CalDAV protocol possible (e.g. sync program for Android).
If the integration is successful, — maximum — 250 (not completed) tasks appear in the calendar. Regardless of the number of the next tasks on an opportunity card, those 250 open tasks are shown by deadlines that are assigned to you.
The frequency of syncing depends on the client (it is not launched from the server).
If the integration is successful (e.g. by using OS X Calendar or iOS Calendar):
- the card link is available in the calendar,
- the deadline and the content of the task can be changed,
- changes made in the calendar will appear in MiniCRM as well,
- if you delete an entry in the calendar, the task will be marked as completed in the system.
In the calendar:
- the opportunity card’s name is the name of the calendar entry,
- the ‘Date’ is the deadline of the task,
- the ‘Description’ is the task’s description,
- in the ‘Where’ field, the contact person’s name and data is shown
To load an opportunity card, click on its link. This way you can see every data that is stored on the card.
Regarding calendar functions, various clients may support various extra functions, however, MiniCRM doesn’t support those (e.g. repetitive tasks).
Calendar sync on OS X
To sync your tasks with your calendar on OS X, follow the steps below:
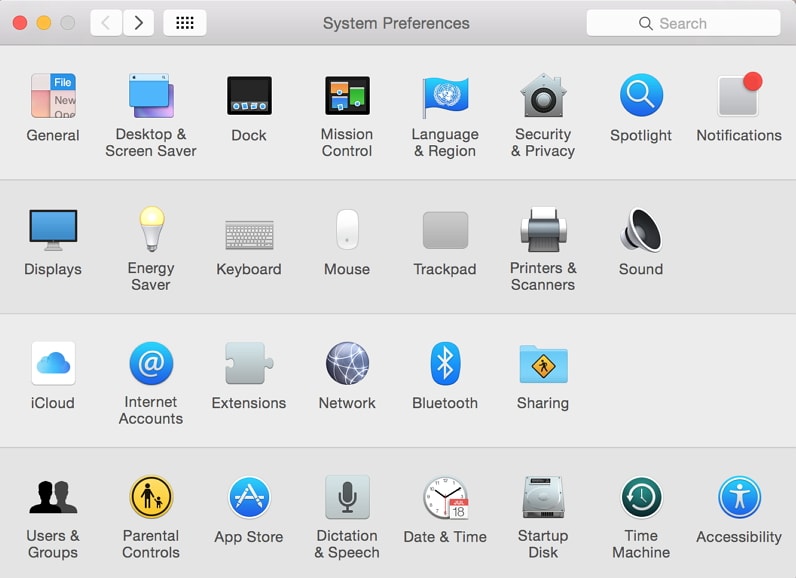
1st Step: Click on the System Preferences icon.
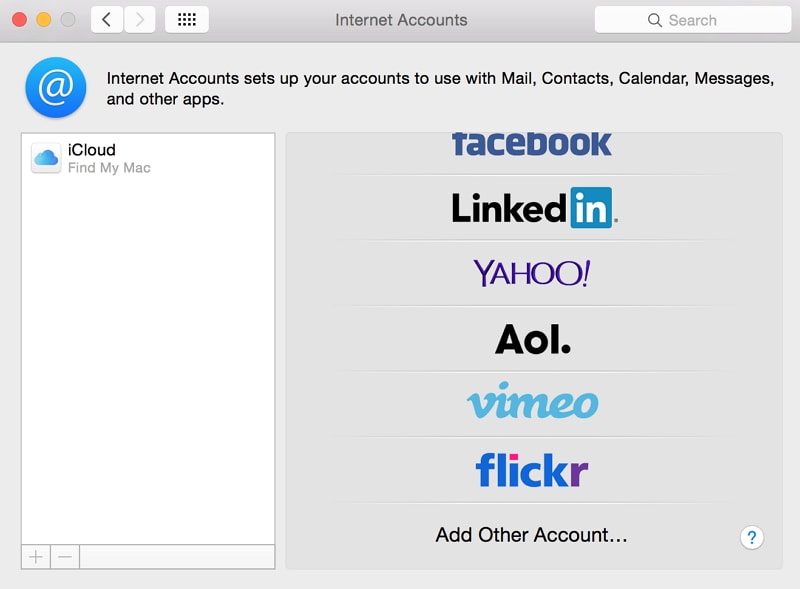
2nd Step: Go to the Internet Accounts menu.
3rd Step: Click on Add Other Account.
4th Step: Choose the Add a CalDAV Account option and click on [Create].
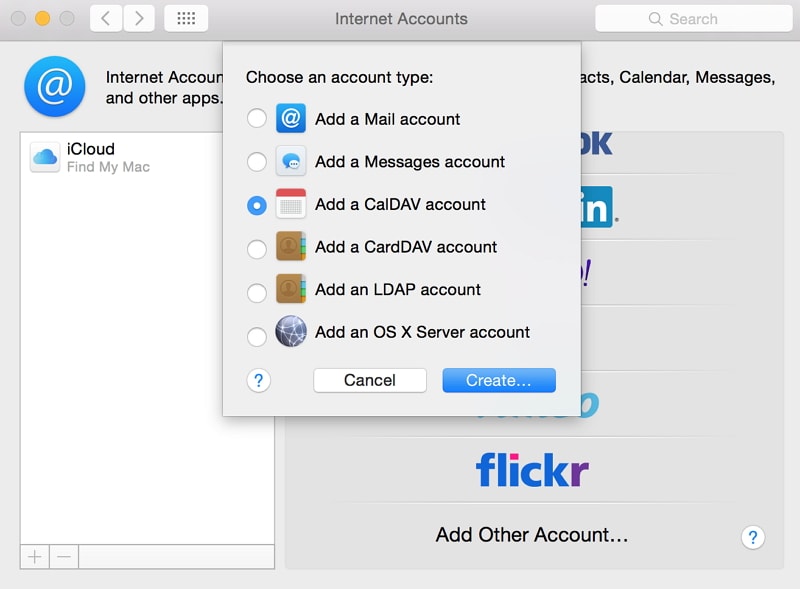
5th Step: Enter all necessary data as it is described in the Integrating MiniCRM with various calendars section, then click on the [Create] button.
The frequency of syncing depends on the client. iCal syncs approx. in every 10 minutes. If something is changed, it will appear in MiniCRM as well within seconds.
Calendar sync on iPhone
To sync your tasks with your calendar on iPhone, follow the steps below:
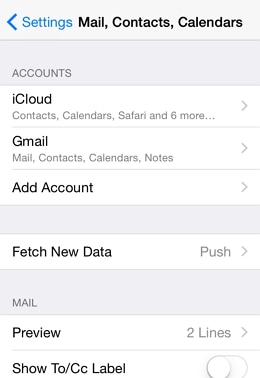
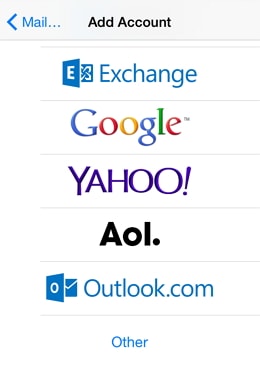
1st Step: Tap on the Settings icon.
2nd Step: In the Mail, Contacts, Calendars menu tap on Add Account, then choose the Other option.
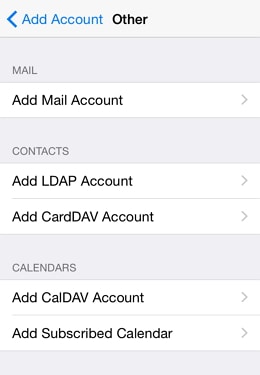
3rd Step: Below the Calendars section, choose the Add CalDAV Account option.
4th Step: Type all necessary data as it is described in the Integrating MiniCRM with various calendars section.
You can also set the frequency of syncing. If something is changed, it will appear in MiniCRM as well within seconds.
To set the frequency of syncing, follow the steps:
- Tap on the Settings icon.
- In the Mail, Contacts, Calendars menu tap on the Fetch new data option.
- Set manually the frequency of pushing data to the calendar.
- Tap on the relevant account and select the Fetch option.
Calendar sync with Outlook
Only read-only connection is possible with Outlook because it doesn’t support the CalDAV standard. It can only manage read-only ics file groups.
Enable the sync of Outlook calendar in MiniCRM on your profile, then set the following in Outlook:
- Go to the File menu and click on the Information > [Account Settings] button.
- Click on the Internet calendars tab, then on the New… option.
-
Insert the link that you see in MiniCRM in the Outlook calendar sync block into the window that appears.
Example url: https://cal.minicrm.hu/calendars/77db995274d13ba4522dd2f207d26372/todos?export
- In the Subscription Window, enter a folder name and a description, then click on the [OK] button. In this way, the name entered by you will appear among the synced calendars.
Calendar sync on Android
To sync your tasks with your Android calendar, you have to download and install the CalDAV-Sync app from Google Play Store:
After downloading the app, launch it and enter every necessary data as it is described in the Integrating MiniCRM with calendars section.
If the integration is successful, you will see your email address (and ‘CalDAV’ below the address) among your Calendars.
Using Calendar Url
If your calendar program doesn’t accept the server name, it means that the program doesn’t recognize the automatic config part of the standard. If it happens, try to give a calendar url directly.
Put https:// before the url that has to be followed by the server, then /calendars/, and the email address (replace @ sign with %40), and put /todos at the end.
Example: https://cal.minicrm.hu/calendars/example.user%40sample.com/todos
Google Calendar Sync
You can sync your tasks with Google Calendar as well. The integration is working by using a Gmail.com email address or a Google Apps (own domain) user.
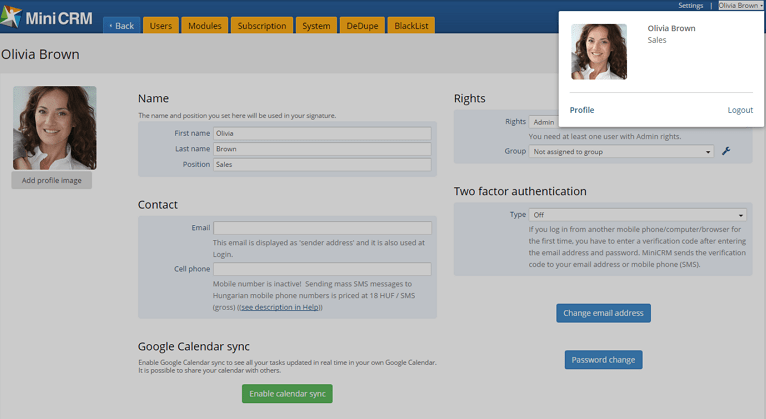
Go to your Profile in MiniCRM and click on the [Enable calendar sync] button.
By enabling sync, MiniCRM requests access to the following (that you can deny in your Google account whenever you want):
- editing the calendar,
- editing contacts,
- accessing personal data (necessary for identifying).
Tasks stored in MiniCRM will be synced with that Google calendar that belongs to your email address. A new calendar will be created within the Google calendar. Its name will be User name (MiniCRM).
If you enable Google Calendar sync, you can use your Google account to log into MiniCRM. 1 Google account can only be assigned to 1 MiniCRM user.
Maximum 500 (not completed) tasks are added to the calendar. Tasks of all modules and opportunity cards are displayed except for those that are in the Trash. Tasks that expired more than 30 days ago are not synced.
After enabling syncing:
- Changes of (not completed) tasks made in MiniCRM appear in Google calendar immediately.
- If you mark a task as completed, it will be deleted from Google calendar.
- If you add a new task in MiniCRM, it appears in the calendar immediately. The limit is maximum 1000 Google events.
- If you change an event in the calendar, the task is changed immediately in MiniCRM.
- If you delete an event in the calendar, the task is marked as completed immediately in MiniCRM. (If you undo the deletion, the MiniCRM task won’t be synced anymore because you cannot reopen and edit completed tasks in MiniCRM.)
- If you add a new event to the calendar, it won’t be added as a task to MiniCRM because it cannot identify the opportunity and module to which the event belongs.
In Google Calendar:
- the calendar event’s name is the name of the opportunity card.
- the date is the deadline and duration of the task,
- in the ‘Where’ field, the contact person’s name and data is shown,
- in the ‘Source’ field, the link of the relevant MiniCRM opportunity card is shown,
- in the ‘Description’ field, you can see the task details,
- in the ‘Notifications’ field, you can set when the calendar should notify you of the event**.
To disable calendar sync, go to your Profile in MiniCRM and click on the [Disable sync] red button. After disabling, the MiniCRM calendar will be deleted from Google Calendar.